Nanocのインストール
ブログを開始するには骨が折れるが、ウェブサイト構築では柔軟性、汎用性に優れるNanoc。
Arch Linuxにインストールしたがバージョンは4になっていた。
Rubyは導入済
Nanocのインストール
(なるべくsudoを付けない方が良いらしい)
$ gem install nanoc
WARNING:  You don't have /home/ユーザー名/.gem/ruby/2.3.0/bin in your PATH,
      gem executables will not run.
Successfully installed nanoc-4.1.5
Parsing documentation for nanoc-4.1.5
Done installing documentation for nanoc after 2 seconds
1 gem installed
プレビューとMarkdownを使用するため、adsfとkramdownもインストール
$ gem install adsf
$ gem install kramdown
Nanocを使ってみる
test-siteを作成
$ nanoc create-site test-site
bash: nanoc: コマンドが見つかりません
パスを通す必要があるらしい。
Nanocがインストールされた場所の確認
(Nanocインストール時にもWARNINGが出ていた)
$ gem contents nanoc | grep bin
/home/ユーザー名/.gem/ruby/2.3.0/gems/nanoc-4.1.5/bin/nanoc
パスを通す(~/.bashrcにexport PATH="$HOME/.gem/ruby/2.3.0/bin:$PATH"を追記)
$ echo 'export PATH="$HOME/.gem/ruby/2.3.0/bin:$PATH"' >> ~/.bashrc
再度test-siteを作成
$ nanoc create-site test-site
      create  nanoc.yaml
      create  Rules
      create  content/index.html
      create  content/stylesheet.css
      create  layouts/default.html
Created a blank nanoc site at 'test-site'. Enjoy!
作成されたtest-siteディレクトリに移動しコンパイル(generate)する
コンパイルのコマンドはnanocだけでも良い
$ cd test-site
$ nanoc compile
Loading site… done
Compiling site…
      create  [0.00s]  output/stylesheet.css
      create  [0.06s]  output/index.html

Site compiled in 0.19s.
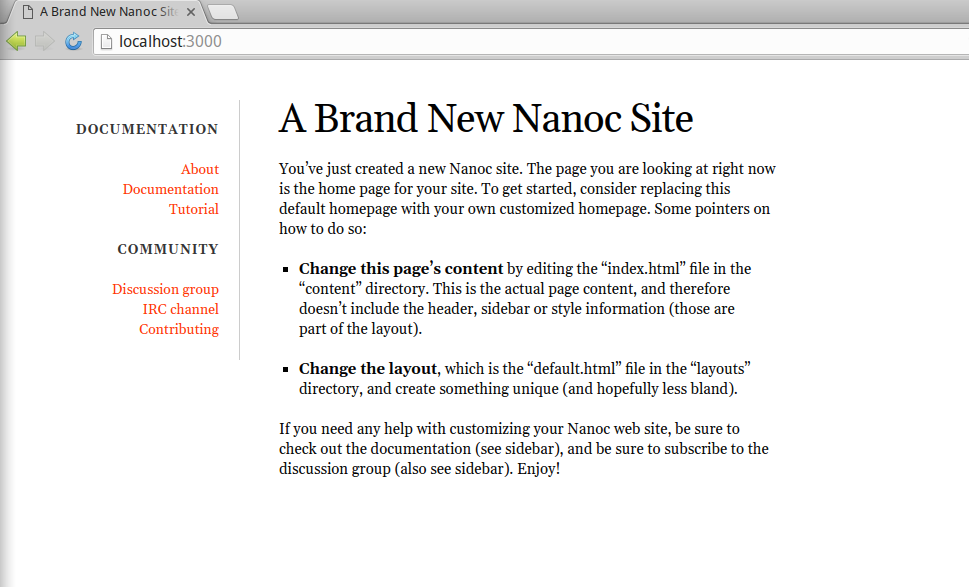
プレビューし、ブラウザでhttp://localhost:3000/にアクセス
$ nanoc view
Loading site… done
[2016-03-29 20:10:10] INFO  WEBrick 1.3.1
[2016-03-29 20:10:10] INFO  ruby 2.3.0 (2015-12-25) [x86_64-linux]
[2016-03-29 20:10:10] INFO  WEBrick::HTTPServer#start: pid=5898 port=3000

Markdown記法を使いたいのでkramdownをインストールしたが、Rulesファイル(test-siteフォルダ内)の修正も必要。
kramdownに関する記載部分のアンコメント#を外す
compile '/**/*.md' do
  filter :kramdown
  layout '/default.*'
end
なお、新規ページを追加するnanoc create_itemコマンド、またwatch、autocompileコマンドなどはNanoc 4から削除されたよう。
Nanoc 4 upgrade guide » Removed features
(参照記事)
インストール、使い方など
Nanoc » Installation
Nanoc » Tutorial